Images and logos
An image in a template is either the same every time (your logo) or chosen by the data (an employee photo, a product picture). Papers handles both from the same dialog.
Insert an image
Put your cursor where the image goes and choose Insert image from the toolbar. The Insert Image dialog has three tabs: Library, Variable and Upload.
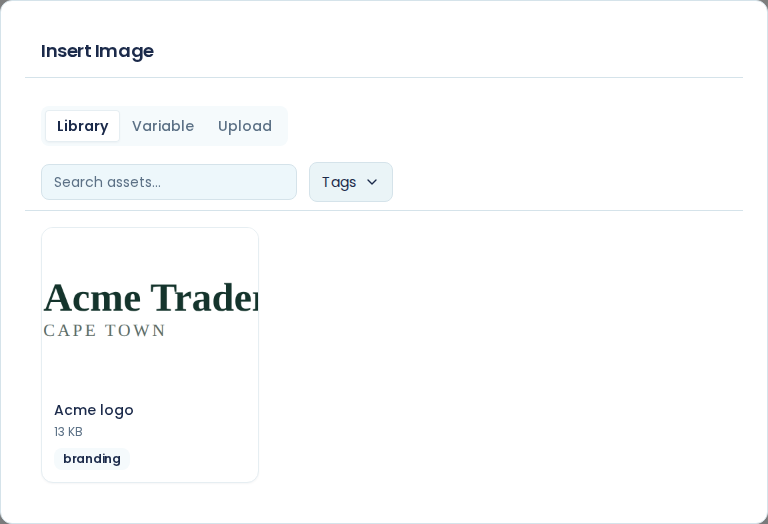
Insert your logo, or any image you have already uploaded
Use the Library tab. It shows the images your company has uploaded, with a search box and a Tags filter to narrow them down.
Click the image you want. It goes straight into the document and the dialog closes. To change its size afterwards, see resize an image.
Upload a new image while you are in the editor
Use the Upload tab. Drop the file on the upload area, or click it to browse. Papers fills in a Name from the file name, which you can change, and you can add Tags so the image is easy to find later. Choose Upload & Insert.
The file joins your asset library at the same time, so it is there next time.
PNG, JPEG, GIF, SVG and WebP are accepted, up to 10 MB. A logo at 10 MB is a scanned logo; export it properly rather than uploading it.
Insert an image chosen by your data
Use the Variable tab. In Field path, type the path to the image in your data, the same dot notation as any other variable:
employee.photo
Set Width (px) and Height (px) for the space the image may take up.
Set a Fallback image with Choose from library. That is what Papers uses when the data has no image at that path, and without one you get a gap. For an employee photo, a generic silhouette is a better document than a hole. Choose Insert.
To change the path later, double-click the image in the document, edit Field path and choose Apply.
Resize an image
Click the image and drag one of its corner handles. The image keeps its proportions as you drag, and it cannot grow wider than the space between the page margins.
Choose how the image sits on the page
Click an image and the image toolbar appears. The first group of buttons sets the placement. Hover over a button to see its name:
- In line with text sits in the line like a word. This is the default.
- Full width stretches across the page between the margins.
- Full bleed runs right across the paper, from one edge to the other.
- Behind content, fills its area sits behind the text, filling the content area of the page, or the header or footer it is in.
- Behind content, fills the page sits behind the text and covers the whole page.
- In front of content sits on top of the text, covering the whole page.
The rest of the toolbar changes with the placement, so it only shows controls that do something:
- The text alignment button, to align the image left, centre or right, appears for In line with text.
- The fit list (Cover, Contain or Stretch) decides what happens when the image's shape differs from the space. It appears for every placement except In line with text.
- The opacity slider fades the image. It appears for the three behind and in front placements.
- The pages list (This page, All pages or This page onwards) appears for Behind content, fills the page and In front of content.
- Bleed to the paper edge appears for a Behind content, fills its area image in a header or footer, and lets it run past the side margins.
Delete image, the bin at the end of the toolbar, removes the image.
Put a letterhead or watermark behind every page
Insert the image, click it, and choose Behind content, fills the page. Set the pages list to All pages. For a watermark, turn the opacity down until the text on top is clear to read.
Put a logo in the header
Insert it in the header's content, the same way as in the body. See headers and footers.
Where images live
Everything you upload goes to the asset library, under Assets in the sidebar. That is where you rename, tag and delete them, and it is worth a look once you have more than a handful. See the asset library.